How to Fix a Running Toilet | A Step-by-Step Guide for Homeowners
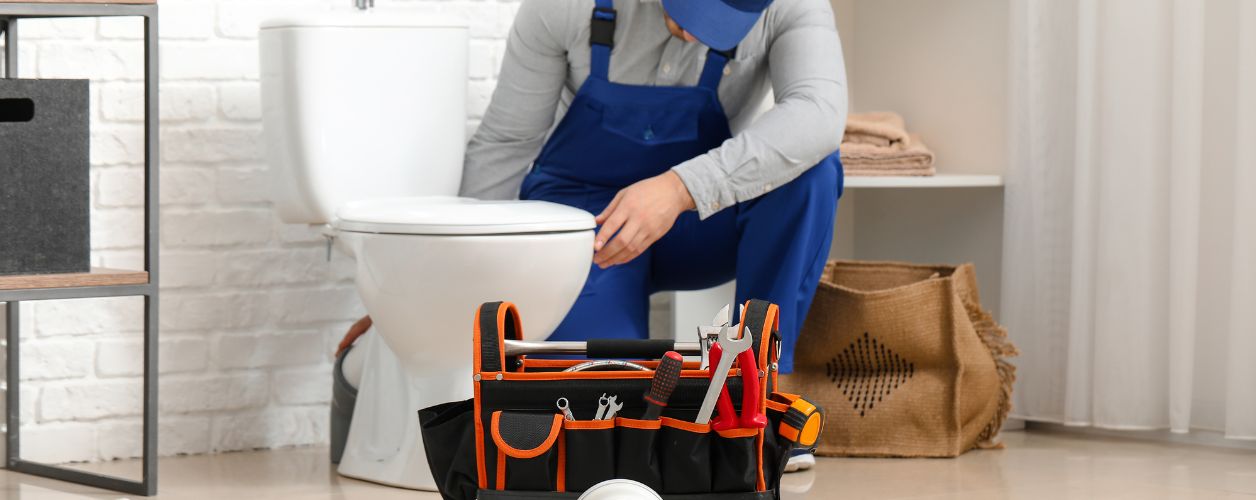
Table Of Content
- Introduction
- Why Does a Toilet Keep Running?
- What You Will Require To Fix A Running Toilet
- Step-by-Step Guide to Fix a Running Toilet
- Troubleshooting Tips And Quick Checks
- Mistakes to Avoid
- When to Call A Local Toilet Plumber
- Conclusion
The idea of a running toilet may not sound like a big deal initially, but it can quickly become a problematic issue in terms of expenses and wastage. Each hour that your toilet is running, you may be wasting litres of fresh clean water, increasing your household utility bills and creating waste that damages the environment. Fortunately, this is a general household problem, almost every person can resolve with some patience and slight understanding.
Regardless of whether you are a complete novice or you have dabbled in plumbing in the past, this guide will talk you through everything that needs to be done to diagnose and correct a running toilet. Be it's learning how the tank works to being able to replace a defective part, we will ensure you have the confidence to tackle this repair job yourself. Being able to repair a water-running toilet is also an important asset that will save you plenty of time and money in the future, not to mention frustration.
We can begin by knowing what causes toilets to run constantly and what equipment you may require before moving on to how to make the repairs.
Why Does a Toilet Keep Running?
A toilet is a device that consists of a small apparatus and can be filled with water quite easily after every flush, and can be stopped once the tank is full. When, however, its internal mechanisms are worn, out of line or otherwise faulty, it may lead to an endless drain and fill pattern. This perpetual motion not only wastes water but also leads to some kind of sustained noise, which can get very annoying, particularly during the night hours.
The following are the most widespread causes of a running toilet:
- The flapper has either worn out or is failing to seal.
- The filling valve is broken.
- The floatage is not regulated.
- It has a chain that may be too tight or too loose.
- The overflow tube is broken or shortened.
- The water flow and pressure are facing the problem of sediment formation.
You can check the toilet unit for these issues to find a reliable solution. With easy tools and a little patience, you can fix a running toilet.
What You Will Require To Fix A Running Toilet
To begin the process easily, prepare the following tools and supplies before you start:
- Adjustable wrench/pliers
- Large bowl or bucket
- Cleaning cloth/ sponge
- Replacement flapper ( universal, or toilet brand-specific)
- New fill valve (should this be needed)
- Flathead or Phillips screwdriver, whichever type of toilet you have
- Rubber gloves (optional and recommended)
- A towel to pick up spills
It will prevent delays when you have everything you need on your side during the repair, and it is also safer in terms of avoiding unnecessary messes.
Step-by-Step Guide to Fix a Running Toilet
Step 1: Turn off the water supply
First, safety and neatness. First, switch off the water supply to your toilet. The shut-off valve is normally close to the floor right behind the toilet. Turning the valve as far as it is possible in the clockwise direction. This blocks it so that the toilet will not refill as being worked on.
Then, hold the toilet flush to empty the majority of the water in the tank. It might be necessary to compress the handle till the tank is empty. Any water remaining at the bottom of the tank should be wiped away using a sponge or towel so that its work environment is dry and workable.
Step 2: Remove the Tank Lid
Remove the porcelain lid on top of the tank and store it in a secure place and away from where it might fall and break. When handling the tank lid, it is fragile. After the lid is off, look inside to get acquainted with the parts. And you will find the fill valve, the float, the flush valve, the chain, and the overflow tube. The interconnection of these parts is imperative in diagnosis as well as in repairing the issue.
Step 3: Inspection of the flapper
A rubber or silicone flapper covers the flush valve, which is seated at the bottom of the tank. When you pull on the flush handle, the chain raises the flapper, and water rushes into the bowl. A flapper should move back into its position and close the valve to prevent a flow of water after a flush.
The cause of running toilets is a worn-out, warped or misaligned flapper in number one. Inspect the flapper carefully to notice signs of damage, the buildup of minerals, or destruction. As it is, when it does not close well or is stiff, then most likely you should replace it.
To get rid of the flapper:
- Take the chain out of the flush handle lever.
- Remove the flapper from the overflow tube. The majority of flappers just clip on.
- Debris near the flapper seal can be wiped off with a sponge or cloth on the side of the valve seat used to attach the flapper.
- Look to fasten the new flapper and seal it exactly to flush the valve.
- Attach the chain back together with some margin that the flapper can close, but also rise when flushing.
This is a temporary solution that usually corrects the problem altogether and plays a major part in knowing how to fix a running toilet.
Step 4: Fill Valve and Float Test
The incoming water flow is under the control of the fill valve. It has attached to it the float that rises as the tank fills. Whenever the float touches the preset level, it switches off the flow of water. When the float is set too high, water might still fill and overflow to the overflow tube and make the toilet run perpetually.
Floats are mainly of two types:
- Ball float: Older toilets were equipped with a ball float, which is a ball sitting on a long arm.
- Cup float: This is a cylinder that moves upwards and downwards along the fill valve, and it is present in newer models.
Put on the water supply to the tank, and flush the tank. Note whether water has stopped at the right height-approximately 1 inch below the overflow tube top.
Whilst the float correction may eliminate the problem, your fill valve could be old or clogged and should be replaced.
Step 5: Replace the Fill Valve (If Necessary)
In case repairing the float does not work and the fill valve runs constantly or refills the toilet improperly, a replacement of the fill valve is due.
This is how to repair a fill valve:
- Switch off the water supply again, provided that it has been switched on.
- Empty and rinse out the tank.
- Unscrew the water supply line off the bottom of the tank.
- Then, with a wrench, remove the lock nut holding the old fill valve.
- Pull the old valve, the vibrante tank valve.
- Insert the new valve and regulate its position to be at the same level as that of the water line in the tank.
- Tighten the valve to the lock nut and reconnect the supply line.
- Connect the refill tube to the overflow tube by fitting it in the right position.
After that has been done, restore the water supply, and then allow the tank to fill. Listen to hear whether there is movement because of water, and ensure it goes off when it reaches the right level when using the valve. It might seem daunting, but it is the other key skill that you need to master in case you want to get a perfect grasp of how to repair a running toilet.
Step 6: Adjust or Replace the Chain
In other instances, the chain that triggers the flapper to the flush handle is the problem. When the chain is too tight, it might not allow the closing of the flapper. In case it is loose, the flapper is not likely to be able to lift high in flushing.
Make just enough chain slack so that there is no tension. Preferably, the flapper ought to fully shut down and remain shut in the course of flushing. Kinked, tangled, or broken chains should be replaced with a new one. The chains are cheap and simple to put in place.
Step 7: Check Overflow Tube
The overflow tube is important concerning safety in that it ensures the tank does not overflow. This indicates that water is seeping into it continuously, or that there is too much water level in it or that the fill valve is not closing. Water may also be draining too soon in case the tube is itself cracked or is too short.
- Check whether the tube is damaged and is in the correct position, in terms of its height compared to the water level. Ensure as well that the refill tube is not longer than an inch in length in the overflow pipe so that siphoning does not develop.
- In the case that the full root cause of the running toilet is the overflow tube and it is found to be cracked or damaged, it might end up replacing the whole flush valve assembly, which is more advanced and might need the removal of the tank.
Step 8: Turn On the Water and Test the Toilet
Your repairs or replacements have been made; it is time to restore the water. Open the shut-off valve and allow the tank to refill. Pay more attention to listening as the tank fills, listening to possible signs of running continuously, or if it is leaking.
The toilet must be flushed multiple times in order to make sure that every element is working properly. When it is necessary to flush, the flapper ought to close instantly, the float should lift gradually and halt the waters at the right point without letting water run into the bowl in the wake of the refill.
Assuming that all carries a pass appearance and sonic package, put back the tank lid, and you have your now fixed toilet.
Troubleshooting Tips And Quick Checks
Provided that your toilet runs despite the above adjustments, consider the following:
- The installation of the flapper should be checked twice.
- Control whether the setting of the float level is correct.
- Be sure to make sure that the chain is not snagged or tangled.
- Clear out the sediment that could be clogging the fill valve.
- Make sure that the refill tube is not inserted too deeply into the overflow tube.
Paying careful attention to every step will prevent chances of repeating the procedure and guarantee that you acquaint yourself with the details of how to address a running toilet.
Mistakes to Avoid
These are some of the pitfalls you should guard against in your repair:
- Over-tightening of nuts or bolts can crack the tank of the toilet.
- Putting in replacement parts of the wrong size.
- Failure to turn off the water well.
- Failure to test the toilet on several occasions after repair.
Care and accuracy may spell the difference between a successful do-it-yourself repair and a costly mistake.
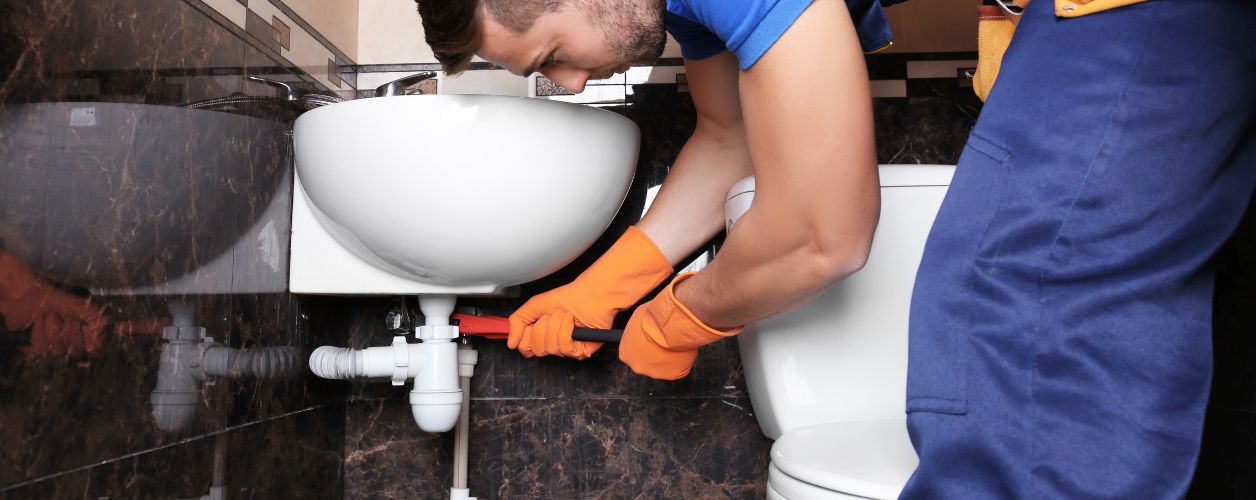
When to Call a Local Toilet Plumber
Certainly, there is a case when it requires professional assistance. In case you are observant:
- Base leaks of the toilet
- Chips on the porcelain tank
- Constantly chasing after any normal repairs
- Not knowing what the problem is.
Conclusion
Properly repairing a running toilet is a minor yet very important skill a homeowner needs. It also prevents wasting water, money on electricity bills and plumbing repair. Knowing the many ways to repair a running toilet and relying on simple procedures such as verifying a damaged flapper, altering the float, and installing broken parts, you will also be able to sort out the problem over a short period. It is, after all, possible to get your toilet back in working order with a few tools and minimal time to give yourself some peace of mind.
YOU MIGHT ALSO BE INTERESTED IN
Capital Cities
- Plumbers Services in Edmonton
- Plumbers Services in Victoria
- Plumbers Services in Winnipeg
- Plumbers Services in Fredericton
- Plumbers Services in St. John's
- Plumbers Services in Yellowknife
- Plumbers Services in Halifax
- Plumbers Services in Iqaluit
- Plumbers Services in Toronto
- Plumbers Services in Charlottetown
- Plumbers Services in Quebec
- Plumbers Services in Regina
- Plumbers Services in Whitehorse


